
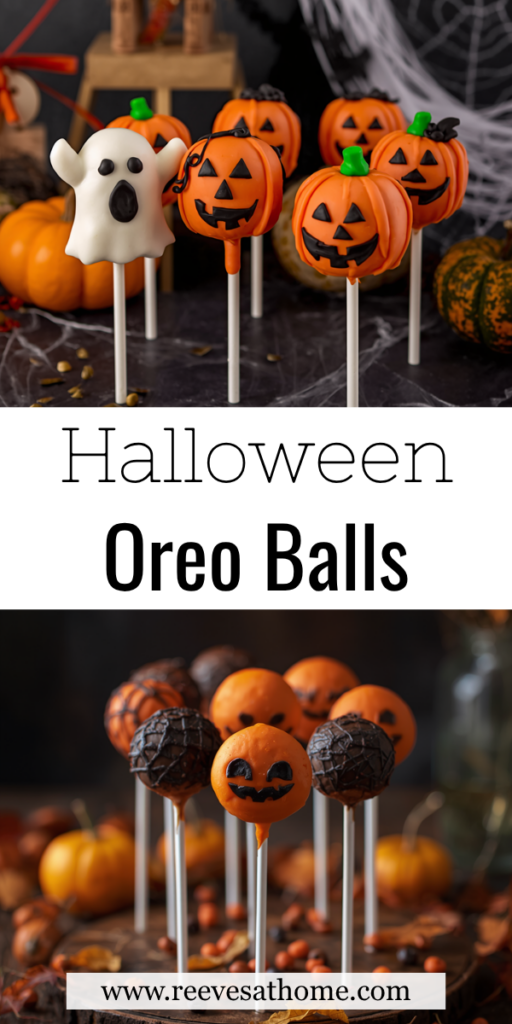
Looking for an easy Halloween dessert that’s spooky, adorable, and ridiculously delicious? These Halloween Oreo Balls are the perfect treat! Made with crushed Oreos, cream cheese, and colorful candy coating, these bite-sized treats are creamy on the inside with a sweet chocolate shell on the outside.
The best part? No baking required! Decorate them like pumpkins, monsters, mummies, or spooky eyeballs for a fun Halloween dessert everyone will love.
Whether you need a treat for a Halloween party, school event, movie night, or Halloween dessert table, these easy Oreo balls are sure to disappear fast!
Why You’ll Love These Halloween Oreo Balls
These little treats check all the boxes for the perfect Halloween dessert. They’re:
- Easy and no-bake
- Made with just a few ingredients
- Fun to decorate
- Perfect for kids and adults
- Easy to make ahead
- Great for Halloween parties
- Totally customizable
Plus, they look impressive without requiring any fancy baking skills!
Ingredients
For the Oreo Balls:
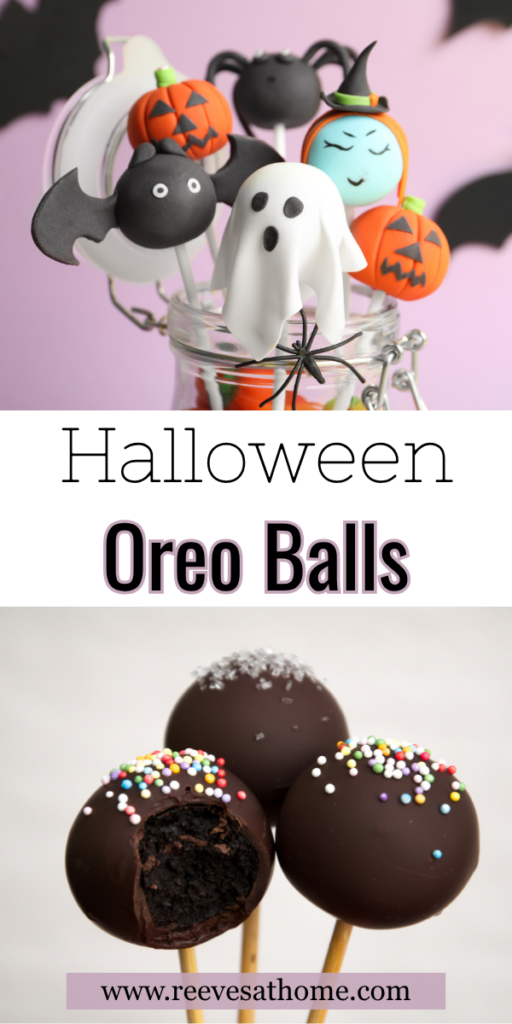
- 1 package (about 36 cookies) Oreo cookies
- 8 oz cream cheese, softened
- 12–16 oz white chocolate or vanilla candy melts
For Decorating:
- Orange candy melts
- Green candy melts
- Purple candy melts
- Black candy melts or melted chocolate
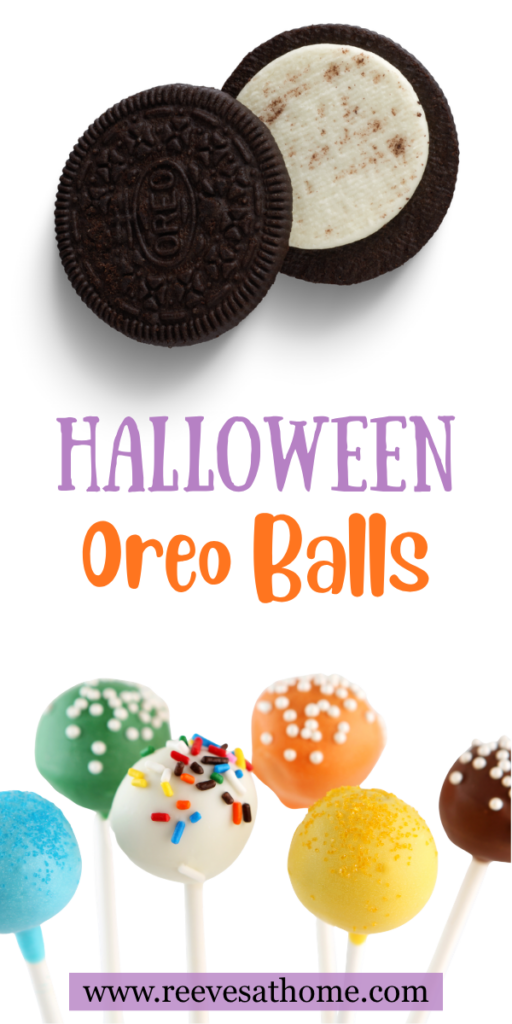
- Halloween sprinkles
- Candy eyeballs
- Optional: white candy melts for mummy designs

How to Make Halloween Oreo Balls
1. Crush the Oreos
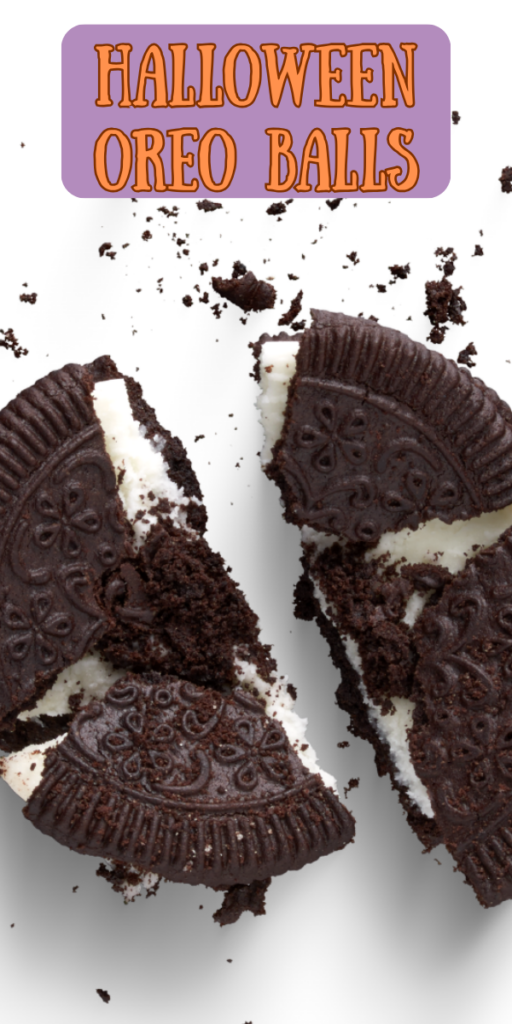
Place the Oreo cookies in a food processor and blend until they become fine crumbs. You can crush the entire cookie, filling included.
No food processor? Place the Oreos inside a zip-top bag and crush them with a rolling pin.
2. Add the Cream Cheese
Add the softened cream cheese to the Oreo crumbs and mix until everything is completely combined.
The mixture should be thick, smooth, and easy to roll.
3. Roll Into Balls
Scoop about 1 tablespoon of the Oreo mixture at a time and roll it between your hands to form a ball.
Place the Oreo balls onto a baking sheet lined with parchment paper.
4. Chill
Refrigerate the Oreo balls for about 30 minutes, or until firm.
Chilling makes them much easier to dip and helps prevent them from falling apart in the melted coating.
5. Melt the Candy Coating
Melt your candy melts according to the package directions. If you’re making several Halloween designs, divide the Oreo balls between different coating colors.
6. Dip the Oreo Balls
Using a fork or dipping tool, lower each chilled Oreo ball into the melted candy coating.
Allow the excess coating to drip off before placing it back onto the parchment paper.
7. Decorate!
Now comes the fun part!
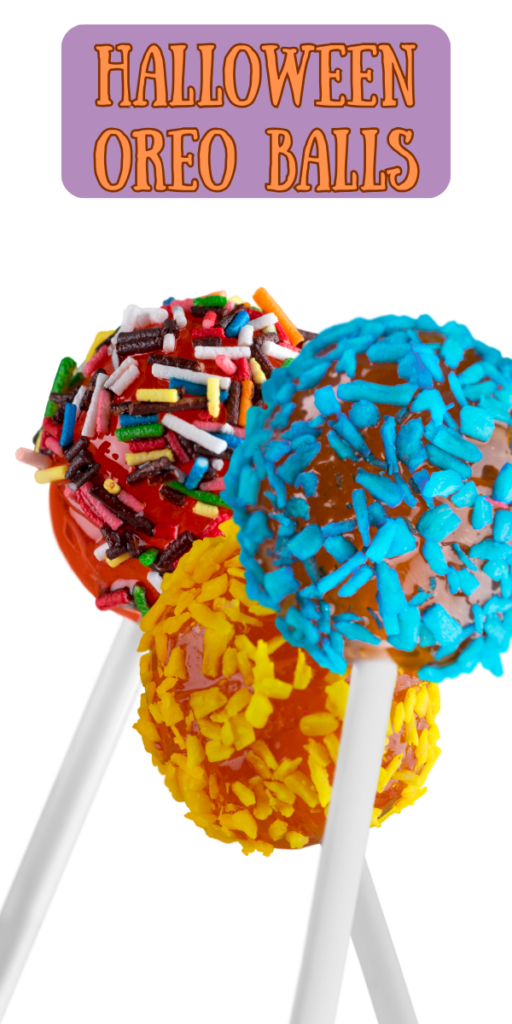
Add Halloween sprinkles or candy eyeballs while the coating is still wet. For more detailed designs, allow the first layer to harden before adding additional melted chocolate or candy melts.
Fun Halloween Oreo Ball Designs 👻
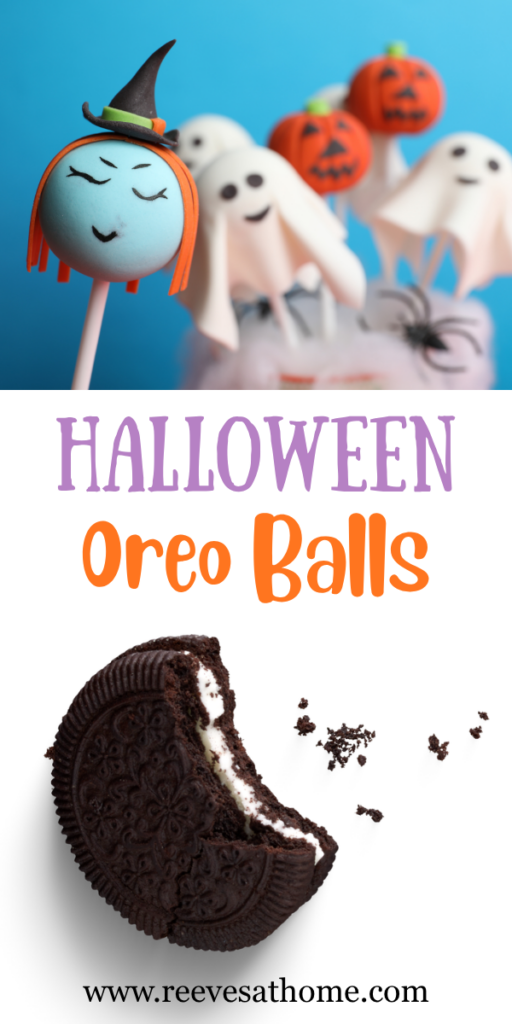
Pumpkin Oreo Balls: Dip in orange candy melts and drizzle with darker orange coating. Add a tiny green candy melt or sprinkle on top for the stem.
Monster Oreo Balls: Use green or purple candy melts and add one, two, or several candy eyeballs.
Mummy Oreo Balls: Coat the balls in white candy melts, add candy eyes, and drizzle additional white chocolate across the top to create mummy “bandages.”
Eyeball Oreo Balls: Dip in white candy melts, add a large candy eye, and use red candy melts to create spooky veins.
You can make one design or create a whole tray of different Halloween characters!
Tips for the BEST Oreo Balls
Make sure your cream cheese is softened before mixing so it combines evenly with the Oreo crumbs.
Chill the Oreo balls before dipping. If they’re too soft, dipping them can get messy very quickly.
If your candy melts are too thick, add a tiny amount of coconut oil or shortening to thin the coating.
And don’t worry about making every ball perfectly round. Once they’re dipped and covered in Halloween decorations, nobody will notice!
Can You Make Halloween Oreo Balls Ahead of Time?
Absolutely! That’s one reason they’re such a great Halloween party dessert.
You can make them 1–2 days ahead of time and keep them refrigerated in an airtight container until you’re ready to serve.
How to Store Halloween Oreo Balls
Store leftover Oreo balls in an airtight container in the refrigerator for up to 5 days.
Because they’re made with cream cheese, they should be kept refrigerated rather than sitting at room temperature for long periods.
Can You Freeze Oreo Balls?
Yes!
Place the finished Oreo balls in a freezer-safe container with parchment paper between the layers. Freeze for up to 2 months.
Allow them to thaw in the refrigerator before serving.

Halloween Oreo Balls Nutrition
Approximate nutrition per Oreo ball
Based on approximately 24 Oreo balls.
- Calories: 170
- Protein: 2g
- Carbohydrates: 22g
- Fat: 9g
- Saturated Fat: 5g
- Sugar: 16g
- Sodium: 110mg
Nutrition information is an estimate and will vary depending on the candy melts, decorations, serving size, and brands used.
Easy Halloween Oreo Balls Everyone Will Love 🎃
If you need a quick and easy Halloween dessert, these Halloween Oreo Balls deserve a spot on your spooky-season menu. They’re creamy, chocolatey, colorful, and almost too cute to eat—almost!
Make a batch for your next Halloween party, movie marathon, trick-or-treat night, or fall get-together. You can even set out different sprinkles and candy eyes and let everyone decorate their own.
Just don’t expect leftovers. These little monsters have a habit of disappearing. 👻
Save this Halloween Oreo Balls recipe to Pinterest so you’ll have an easy no-bake Halloween treat ready for spooky season! 🎃🧡
I hope you enjoyed learning about how to make these delicious Halloween Oreo balls for your Halloween party! If you liked this one, you should check out my Jalapeño Popper Dip recipe and the rest of my blog. If you have any questions, please contact me at: [email protected]